Step-by-Step Instructions for Seamless Printing
Introduction
Getting a new printer ready to work is a must for many homes and offices. A good setup means clear printouts, fewer jams, and less frustration. It’s easy to hit hurdles if you’re unsure where to start. This guide cuts through the confusion and walks you step by step.
With more people working from home than ever before, printer setup has become a common task. Recent stats show a 30% rise in home printer setups since 2020. Making sure your printer is set up right can save you time and money later.
Selecting the Right Printer for Your Needs
Understanding Printer Types
Picking the right printer depends on what you want to do with it. Here are the main types:
- Inkjet printers: Great for photos and color printing at home. They work well for casual use.
- Laser printers: Fast and efficient for large volumes. Ideal for offices with many documents.
- All-in-one printers: Combine printing, copying, scanning, and sometimes faxing. Perfect for busy households or small businesses.
- Label and photo printers: Specialized for printing labels or high-quality images. Use them for specific projects or hobbies.
Evaluating Features and Specifications
Think about what features matter most:
- Print resolution: Measured in dpi—higher numbers mean clearer images.
- Speed: Pages per minute (PPM) shows how fast your printer can handle jobs.
- Duplex printing: Prints on both sides automatically, saving paper.
- Connectivity: Wi-Fi, Ethernet, USB—know what your devices support.
For business needs, prioritize speed and connectivity. For home use, focus on ease and quality.
Setting a Budget
Prices range from budget-friendly models under $100 to premium units over $300. Remember, some costs add up over time:
- Ink or toner replacements
- Maintenance supplies
- Upgrades or extended warranties
Balance your budget with the features you require to get the best value.
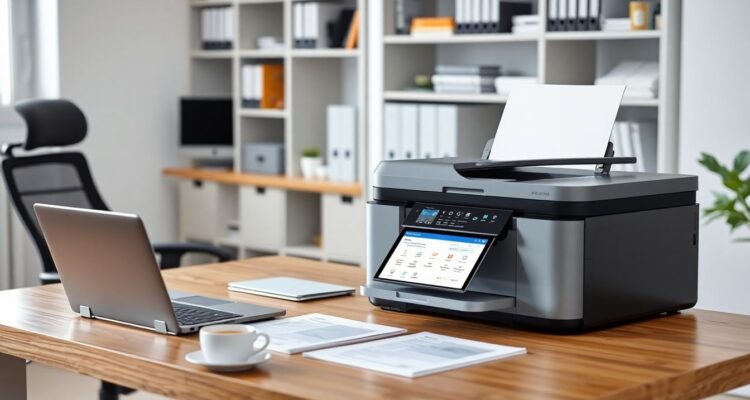
Preparing Your Workspace for Printer Installation
Choosing the Ideal Location
Pick a spot close to power outlets and Wi-Fi routers for easy setup. An open space on a desk or shelf helps with paper jams and maintenance. Avoid cramped spots to keep things safe and ergonomic.
Gathering Necessary Supplies
Before starting, collect everything needed:
- Power cord
- USB cable or Ethernet cable, if wired
- Paper and ink/toner cartridges
- User manual
Having these ready speeds up the process and prevents missed steps.
Ensuring Compatibility with Devices
Check if your computer’s operating system matches the printer’s requirements. If connecting through Wi-Fi, ensure your network is stable. Keep your device software updated for smooth operation.
Step-by-Step Printer Setup Process
Unboxing and Physical Setup
Carefully remove the printer from its box. Remove all packing materials. Assemble parts if needed, like paper trays. Place the printer on a flat surface away from water or heat sources. Handle parts gently to avoid damage.
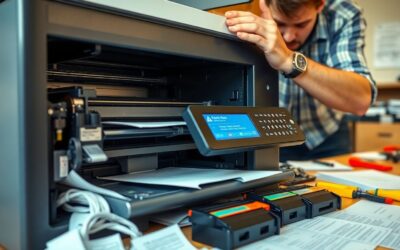
Powering and Initial Configuration
Connect the power cord and switch the device on. Follow on-screen prompts for language preferences, date, and time. Many printers have setup wizards to guide you through basic settings.
Connecting to Wi-Fi or Network
- Wi-Fi: Access the printer’s menu, find the network settings, and select your Wi-Fi. Enter your Wi-Fi password carefully.
- Ethernet: Plug an Ethernet cable into the printer and router. This wired connection often offers more stability.
Troubleshoot if connection fails—restart your router, verify passwords, or move the printer closer to your Wi-Fi source.
Installing Printer Drivers and Software
Visit the manufacturer’s website and download the latest drivers. Alternatively, use any CD that came with the printer. Installing the right software ensures your printer works smoothly with all features.
Configuring Printer Settings
Adjust default options like paper size, print quality, and color preferences. For added security, disable or enable features like user authentication, especially if shared by multiple users.
Connecting Your Devices to the Printer
Windows Devices
Open Control Panel or Settings, add a new printer, and select your device from the list. Follow prompts to complete the connection. Consider sharing the printer over the network for multiple devices.
Mac Devices
Go to System Preferences > Printers & Scanners. Click the plus (+) button to add your printer. Make sure to select the correct driver for smooth printing.
Mobile Devices and Tablets
Download the printer app recommended by the manufacturer. For Apple devices, use AirPrint. For Android, Google Cloud Print or manufacturer apps work best.
Troubleshooting Connection Problems
- Restart your device and printer.
- Check Wi-Fi settings and password accuracy.
- Disable firewalls or antivirus temporarily to test connectivity.
Optimizing Printer Performance and Maintenance
Regular Calibration and Cleaning
Clean print heads and perform calibration every few months. This keeps colors vivid and prevents streaks. Follow your printer manual for proper cleaning procedures.
Replacing Ink/Toner and Paper Supplies
Be alert for low ink/toner alerts. Use good quality paper to avoid jams or smudges. Recycling used cartridges reduces waste and can sometimes earn rewards.
Updating Firmware and Software
Check the manufacturer’s website for updates. Firmware updates fix bugs, improve security, and add features.
Troubleshooting Common Issues
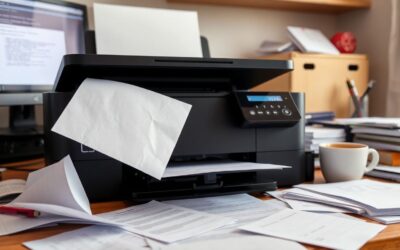
- Paper jams happen often; clear them carefully.
- Ghosting or faint prints can be fixed by cleaning.
- Regularly restart your printer to avoid connectivity drops.
- If problems persist, consider professional repair.
Conclusion
Setting up a printer can seem tricky, but following these clear steps makes it simple. Proper setup reduces headaches, lowers costs, and improves printing quality. A well-configured printer is reliable, fast, and ready whenever you need it. Remember, a little maintenance goes a long way in keeping it running smoothly. Take your time, follow the instructions, and your printer will serve you well for years.